How To Share Your Outlook Calendar With Others In Your Organisation For Viewing Only
Please Note: These instructions were written specifically for Microsoft Outlook 2010 on a Hosted Desktop UK computer, therefore screenshots and prompts may not be exactly representative if you are using a different version of Outlook with your own computer.
Part A - Send Sharing Request To Users
Every person who wishes to share their calendar should perform the following steps:
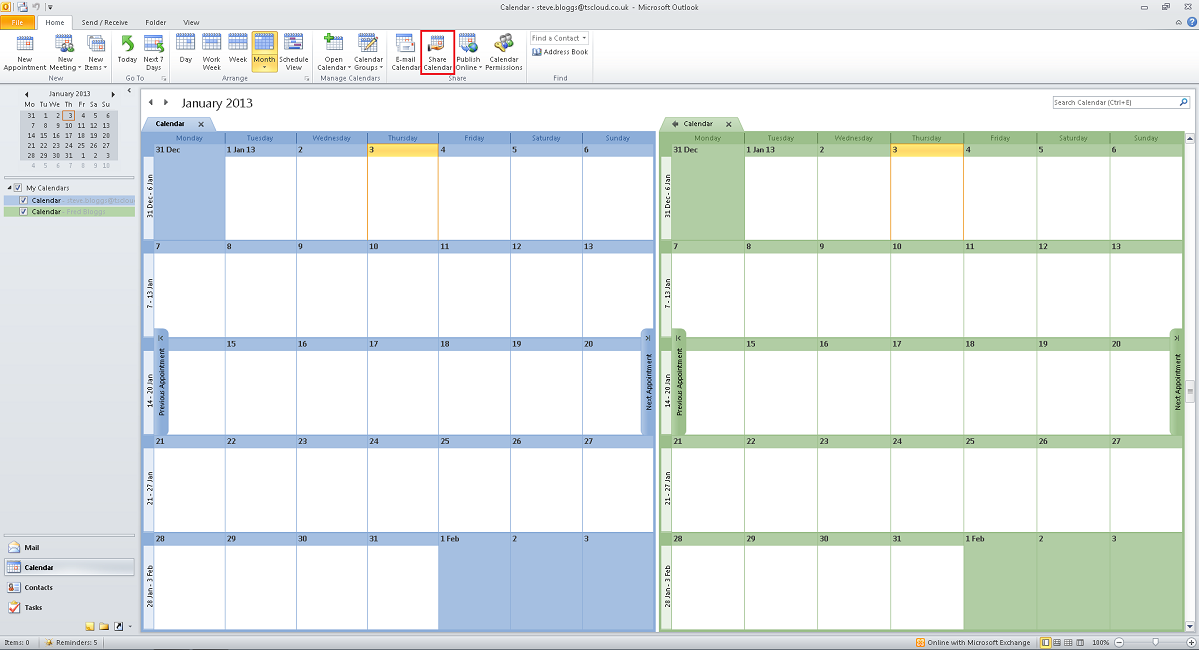
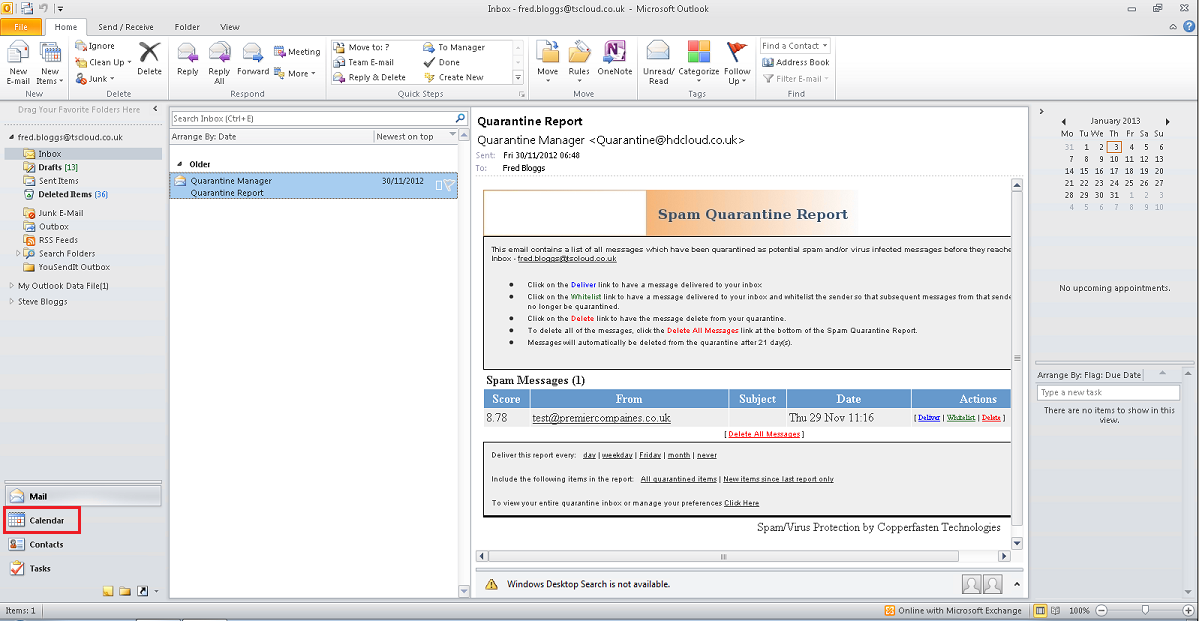
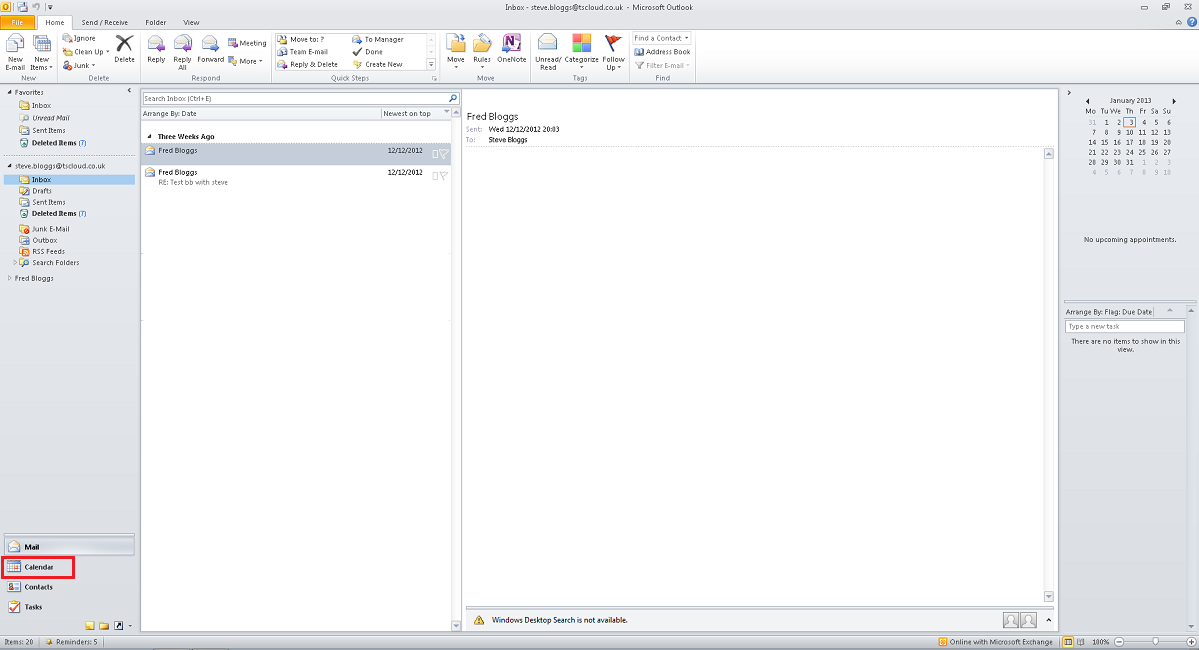
A.1 - In Outlook, click the ‘Calendar’ button.

A.2 -Click ‘Share Calendar’.
A.3 - Click ‘To…’
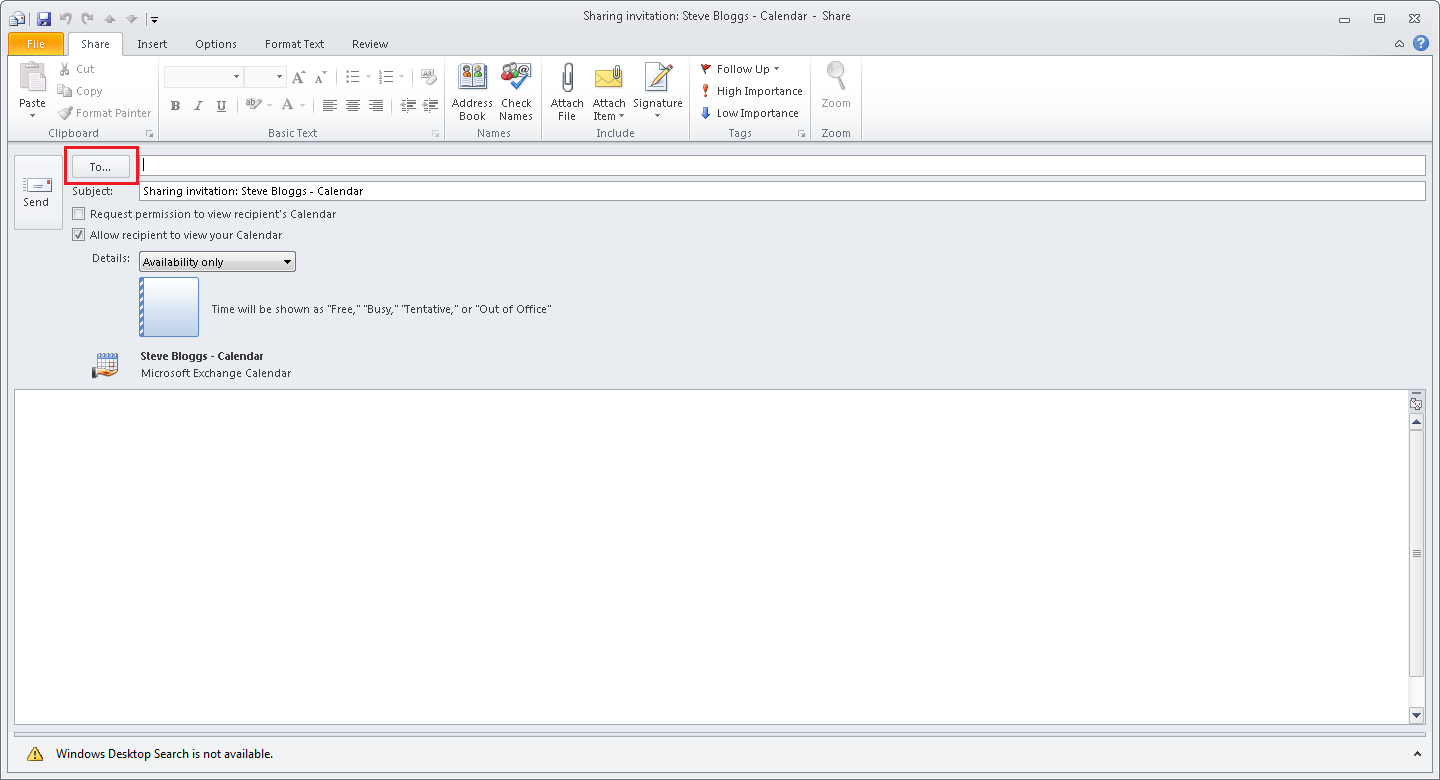
A.4 - For every person who you wish to share your Calendar with, select them from the address list and then click ‘To ->’. That person’s name will then appear underlined next to the ‘To ->’ button. When you have added all of the people you wish to share with, click ‘Ok’.

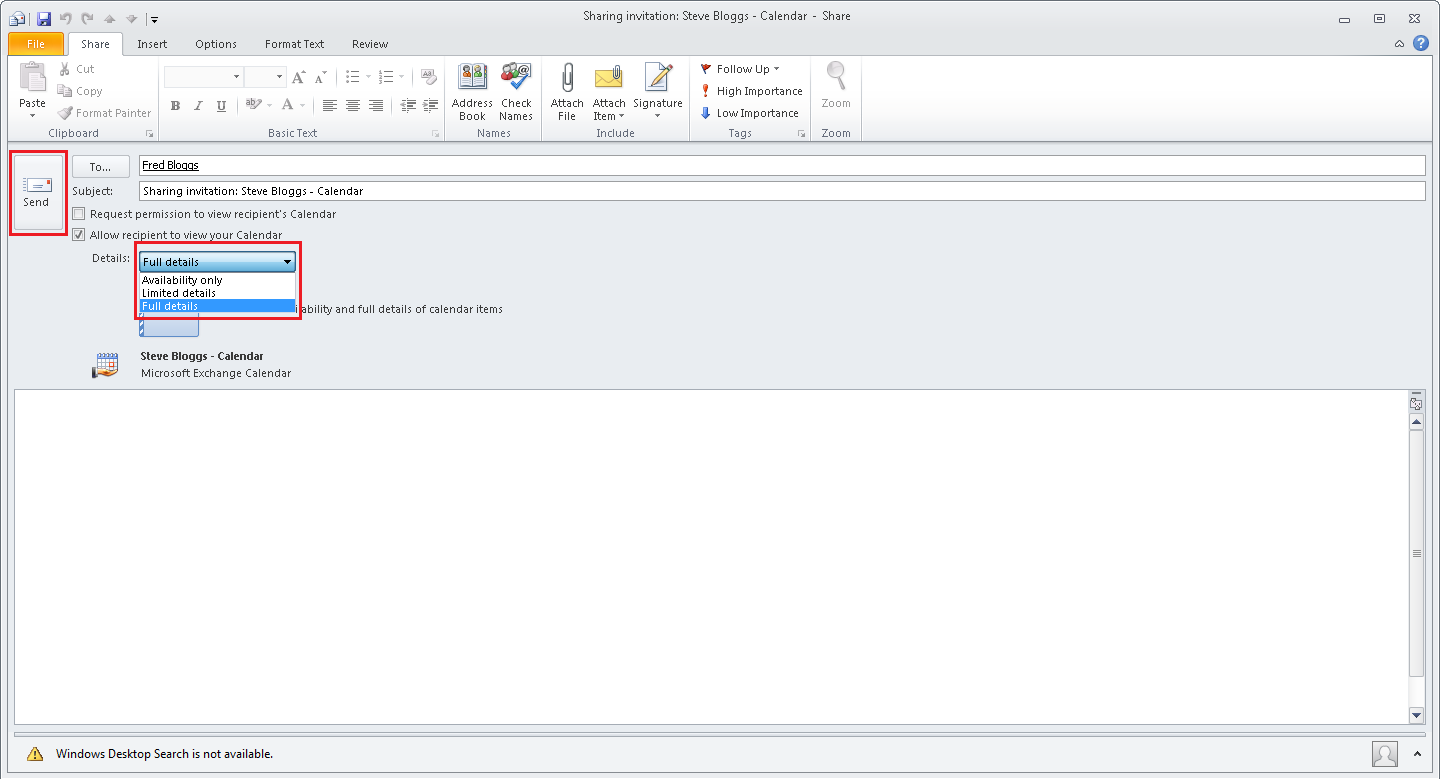
A.5 - Set the ‘Details’ from the drop-down list to ‘Full details’ as shown below. Then click ‘Send’
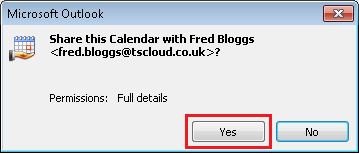
A.6 - Click ‘Yes’ to confirm the share. Outlook may then display a ‘Preparing sharing message’ for a few moments as shown below.
A.7 - When everybody in your organisation has performed these steps, please proceed to Part B.
Part B - Users Accept Sharing Request
Every person who receives a ‘Sharing Invitation’ email following Part A above, should perform the following steps:
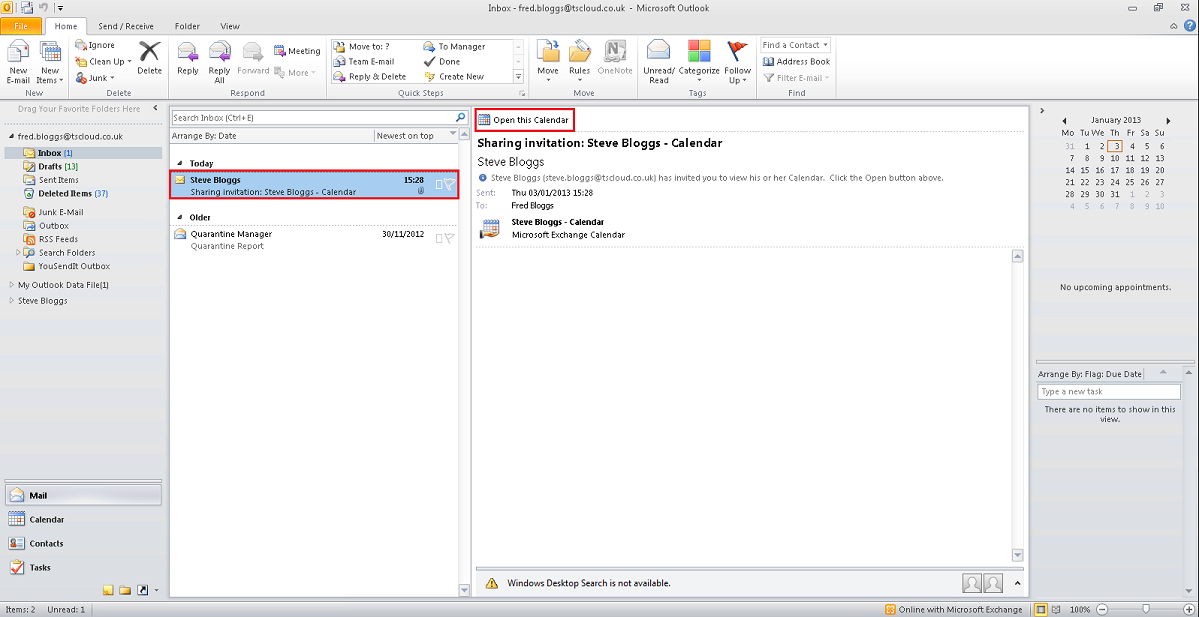
B.1 - Open the ‘Sharing Invitation’ email, and click ‘Open this Calendar’.
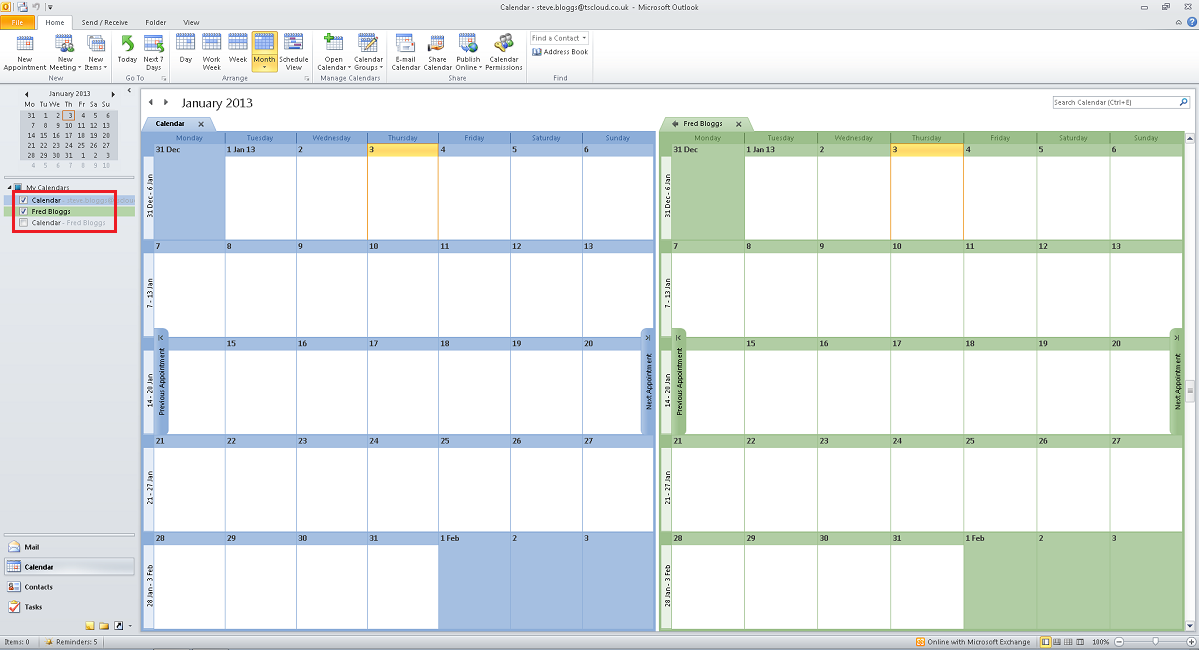
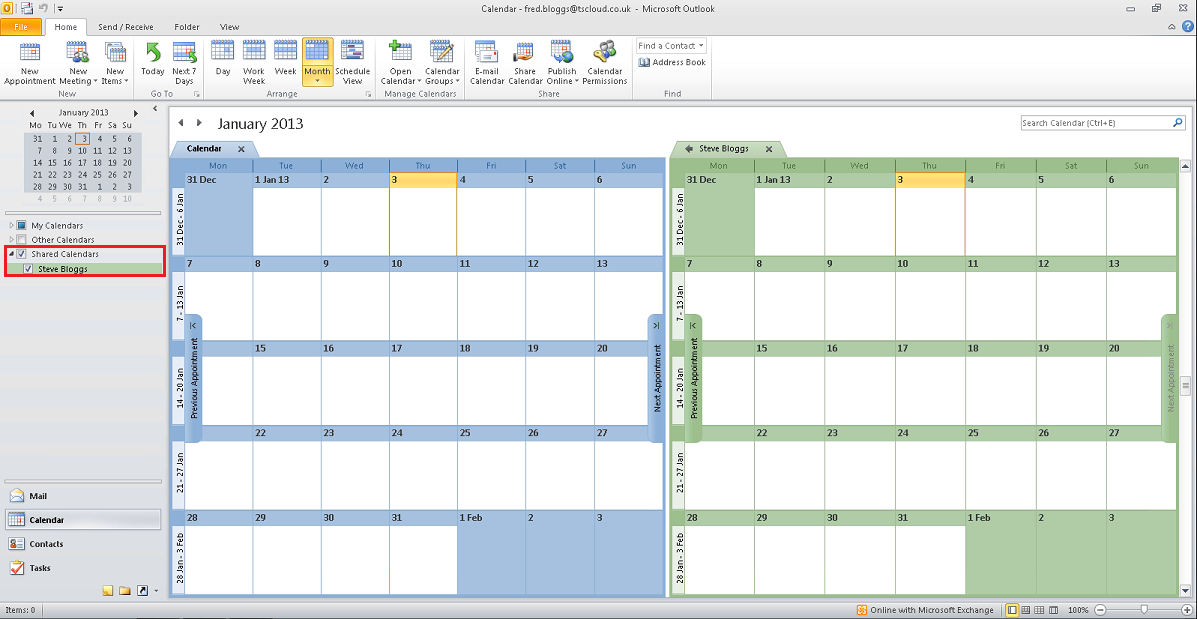
B.2 - This will take you to the Calendar view. Everybody whose Calendar you’ve opened via the email link will now appear under ‘Shared Calendars’. You can show/hide each Calendar by adding/removing the tick in the box next to the Calendar’s name.
How To Share Your Outlook Calendar With Others In Your Organisation For Viewing and Editing
Please Note: These instructions were written specifically for Microsoft Outlook 2010 on a Hosted Desktop UK computer, therefore screenshots and prompts may not be exactly representative if you are using a different version of Outlook with your own computer.
There are two quick parts to this process, but both of them need to be performed by all users in your Organisation before you can share each other’s Outlook Calendars:
Part A - Setting Permissions For Users
In this example, we show how ‘Fred Bloggs’ is going to give ‘Steve Bloggs’ full access to his calendar.
A.1 - In Outlook, click the ‘Calendar’ button.
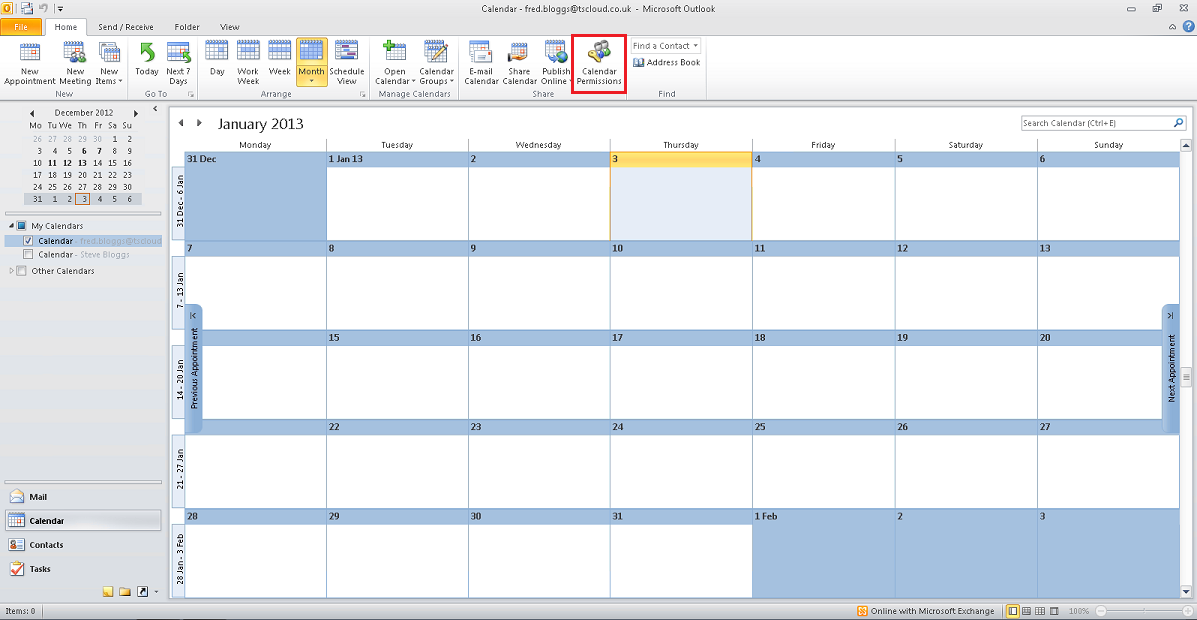
A.2 - Click ‘Calendar Permissions’.
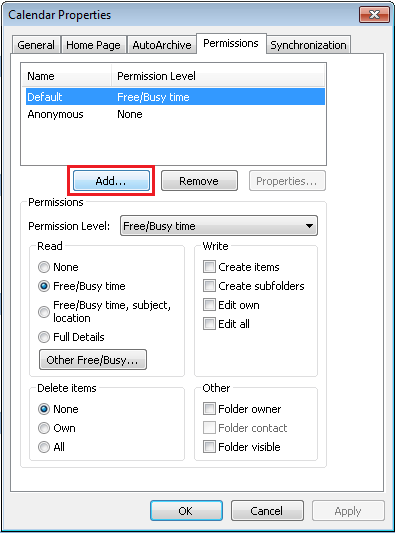
A.3 - Click ‘Add…’
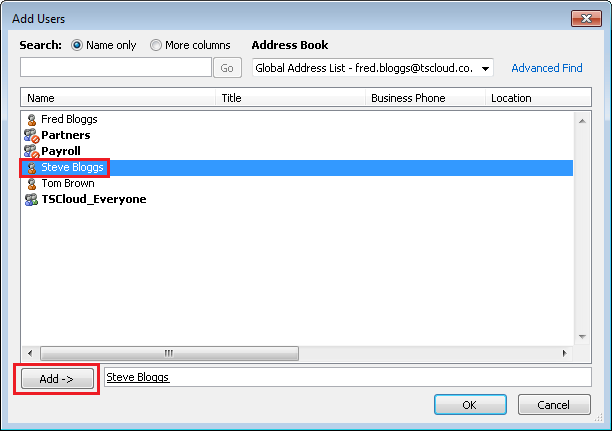
A.4 - For every person who you wish to share your Calendar with, select them from the address list and then click ‘Add ->’. That person’s name will then appear underlined next to the ‘Add ->’ button. When you have added all of the people you wish to share with, click ‘Ok’.
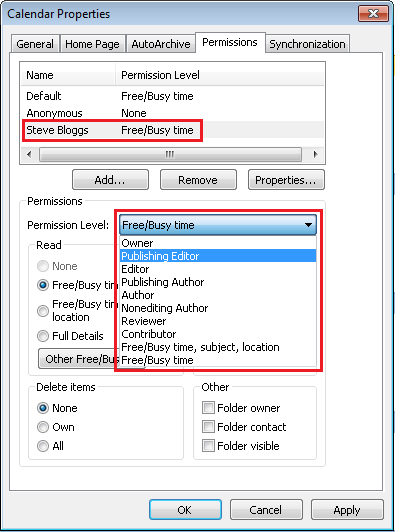
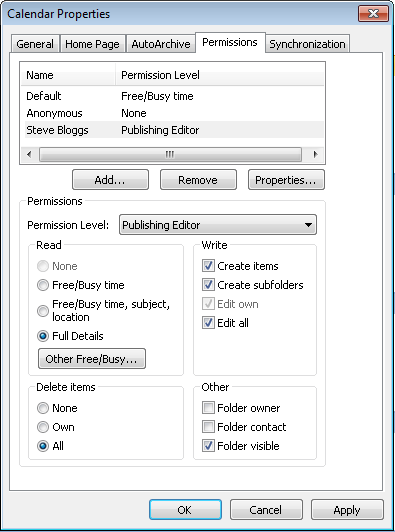
A.5 - Set the level of access you wish each person to have to your Calendar. Select the person’s name, and then set their ‘Permission Level’ from the drop-down list as shown below. In this example we have selected ‘Publishing Editor’ rights: this will give the user full access to your Calendar for them to view it, make and change appointments, and book meetings with you and on your behalf.
A.6 - When you are happy that the permissions for all people you wish to share with have been set as you require, click ‘Apply’ and then ‘Ok’.
A.7 - When everybody in your organisation has performed these steps, please proceed to Part B.
Part B
In this example, we show how ‘Steve Bloggs’ is going to access ‘Fred Bloggs’ calendar now that Fred has given him access to it.
B.1 - In Outlook, click the ‘Calendar’ button.
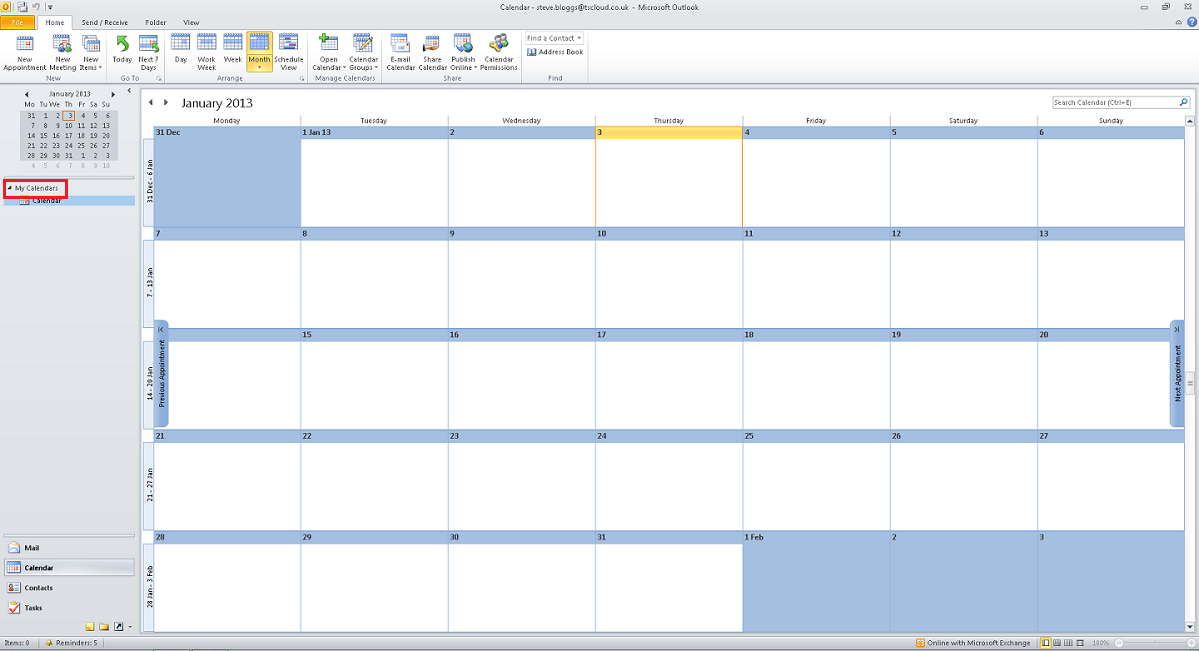
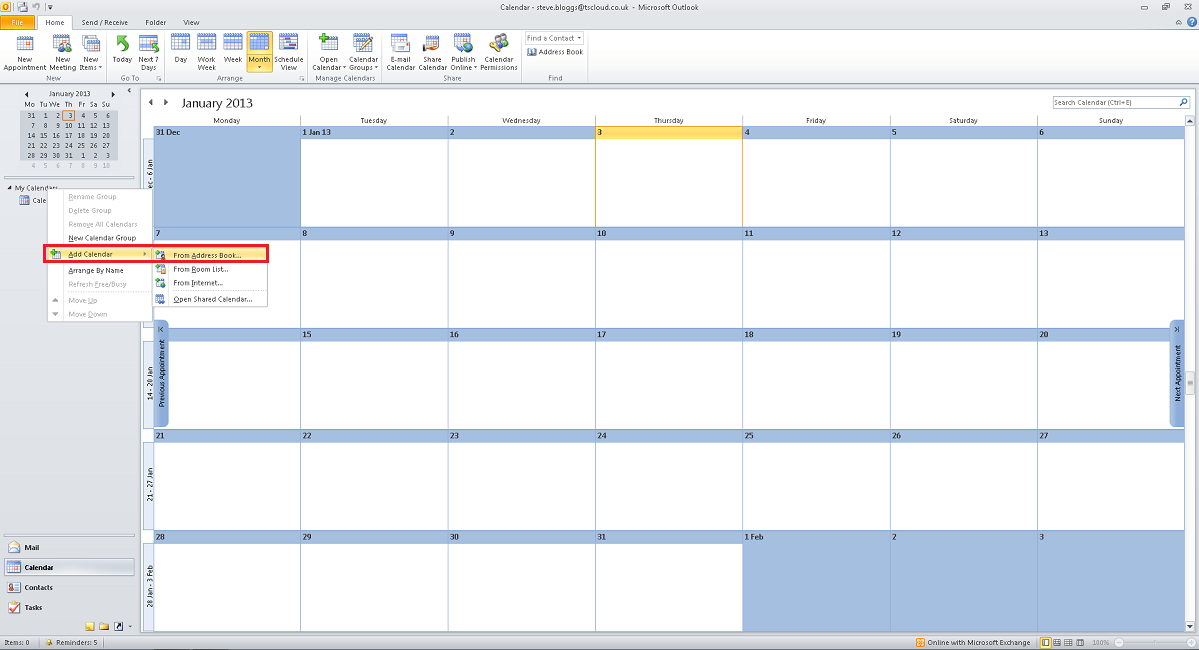
B.2 -Right-click on ‘My Calendars’
B.3 - Navigate to ‘Add Calendar’ and then click ‘From Address Book…’
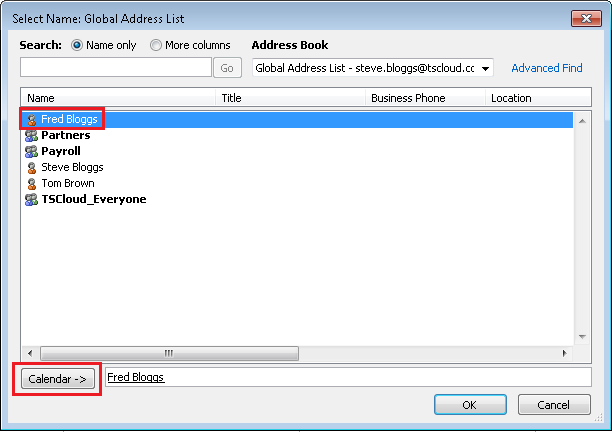
B.4 - For every person whose Calendar you wish to view, select them from the address list and then click ‘Calendar ->’. That person’s name will then appear underlined next to the ‘Calendar ->’ button. When you have added all of the people whose Calendars you wish to view, click ‘Ok’.
B.5 - Everybody whose Calendar you’ve added will now appear under ‘My Calendars’. You can show/hide each Calendar by adding/removing the tick in the box next to the Calendar’s name.